03-Qwen2-vl-2B vLLM 部署调用
vLLM 框架是一个高效的大语言模型推理和部署服务系统,具备以下特性:
- 高效的内存管理:通过
PagedAttention算法,vLLM实现了对KV缓存的高效管理,减少了内存浪费,优化了模型的运行效率。 - 高吞吐量:
vLLM支持异步处理和连续批处理请求,显著提高了模型推理的吞吐量,加速了文本生成和处理速度。 - 易用性:
vLLM与HuggingFace模型无缝集成,支持多种流行的大型语言模型,简化了模型部署和推理的过程。兼容OpenAI的API服务器。 - 分布式推理:框架支持在多
GPU环境中进行分布式推理,通过模型并行策略和高效的数据通信,提升了处理大型模型的能力。 - 开源共享:
vLLM由于其开源的属性,拥有活跃的社区支持,这也便于开发者贡献和改进,共同推动技术发展。
环境准备
本文基础环境如下:
----------------
ubuntu 22.04
python 3.10
cuda 12.1
pytorch 2.4.0
----------------本文默认学习者已配置好以上
Pytorch (cuda)环境,如未配置请先自行安装。
首先 pip 换源加速下载并安装依赖包
python -m pip install --upgrade pip
pip config set global.index-url https://pypi.tuna.tsinghua.edu.cn/simple

pip install modelscope==1.20.0
pip install openai==1.54.4
pip install tqdm==4.67.0
pip install transformers==4.46.2
pip install vllm==0.6.3.post1
pip install wen-vl-utils==0.0.8考虑到部分同学配置环境可能会遇到一些问题,我们在AutoDL平台准备了Qwen2-VL的环境镜像,点击下方链接并直接创建Autodl示例即可。 https://www.codewithgpu.com/i/datawhalechina/self-llm/qwen2-vl
模型下载
使用 modelscope 中的 snapshot_download 函数下载模型,第一个参数为模型名称,参数 cache_dir为模型的下载路径。
先切换到 autodl-tmp 目录,cd /root/autodl-tmp
然后新建名为 model_download.py 的 python 脚本,并在其中输入以下内容并保存
# model_download.py
from modelscope import snapshot_download
model_dir = snapshot_download('Qwen/Qwen2-VL-2B-Instruct', cache_dir='/root/autodl-tmp', revision='master')然后在终端中输入 python model_download.py 执行下载,这里需要耐心等待一段时间直到模型下载完成。
注意:记得修改
cache_dir为你的模型下载路径哦~
代码准备
Python脚本
在 /root/autodl-tmp 路径下新建 vllm_model.py 文件并在其中输入以下内容,粘贴代码后请及时保存文件。下面的代码有很详细的注释,如有不理解的地方,欢迎大家提 issue。
首先从 vLLM 库中导入 LLM 和 SamplingParams 类。LLM 类是使用 vLLM 引擎运行离线推理的主要类。SamplingParams 类指定采样过程的参数,用于控制和调整生成文本的随机性和多样性。
vLLM 提供了非常方便的封装,我们直接传入模型名称或模型路径即可,不必手动初始化模型和分词器。
我们可以通过这个代码示例熟悉下 vLLM 引擎的使用方式。被注释的部分内容可以丰富模型的能力,但不是必要的,大家可以按需选择,自己多多动手尝试 ~
# vllm_model.py
from vllm import LLM, SamplingParams
from transformers import AutoProcessor
import os
import json

# 自动下载模型时,指定使用modelscope; 否则,会从HuggingFace下载
os.environ['VLLM_USE_MODELSCOPE']='True'

def get_completion(prompts, model, tokenizer=None, max_tokens=512, temperature=0.8, top_p=0.95, max_model_len=2048):
    stop_token_ids = [151329, 151336, 151338]
    # 创建采样参数。temperature 控制生成文本的多样性,top_p 控制核心采样的概率
    sampling_params = SamplingParams(temperature=temperature, top_p=top_p, max_tokens=max_tokens, stop_token_ids=stop_token_ids)
    # 初始化 vLLM 推理引擎
    llm = LLM(model=model, tokenizer=tokenizer, max_model_len=max_model_len,trust_remote_code=True)
    outputs = llm.generate(prompts, sampling_params)
    return outputs


if __name__ == "__main__":
    # 初始化 vLLM 推理引擎
    model='/root/autodl-tmp/Qwen/Qwen2-VL-2B-Instruct' # 指定模型路径
    tokenizer = None
    # 加载分词器后传入vLLM 模型,但不是必要的。
    processor = AutoProcessor.from_pretrained(model)


    messages = [
    	{"role": "system", "content": "你是一个有用的助手。"},
    	{"role": "user", "content": [
        {"type": "image_url",
         "image_url": {
           "url": "https://modelscope.oss-cn-beijing.aliyuncs.com/resource/qwen.png"}
        },
        {"type": "text", "text": "插图中的文本是什么?"}
    	]
      }
    ]

    prompt = processor.apply_chat_template(
      messages,
      tokenize=False,
      add_generation_prompt=True,
		)

    outputs = get_completion(prompt, model, tokenizer=tokenizer, max_tokens=512, temperature=1, top_p=1, max_model_len=2048)

    # 输出是一个包含 prompt、生成文本和其他信息的 RequestOutput 对象列表。
    # 打印输出。
    for output in outputs:
        prompt = output.prompt
        generated_text = output.outputs[0].text
print(f"Prompt: {prompt!r}, Generated text: {generated_text!r}")运行代码
cd /root/autodl-tmp && python vllm_model.py结果如下:
Prompt: '<|im_start|>system\n你是一个有用的助手。<|im_end|>\n<|im_start|>user\n<|vision_start|><|image_pad|><|vision_end|>插图中的文本是什么?<|im_end|>\n<|im_start|>assistant\n', Generated text: '插图中是“.YEAR”以及“imestot-value”'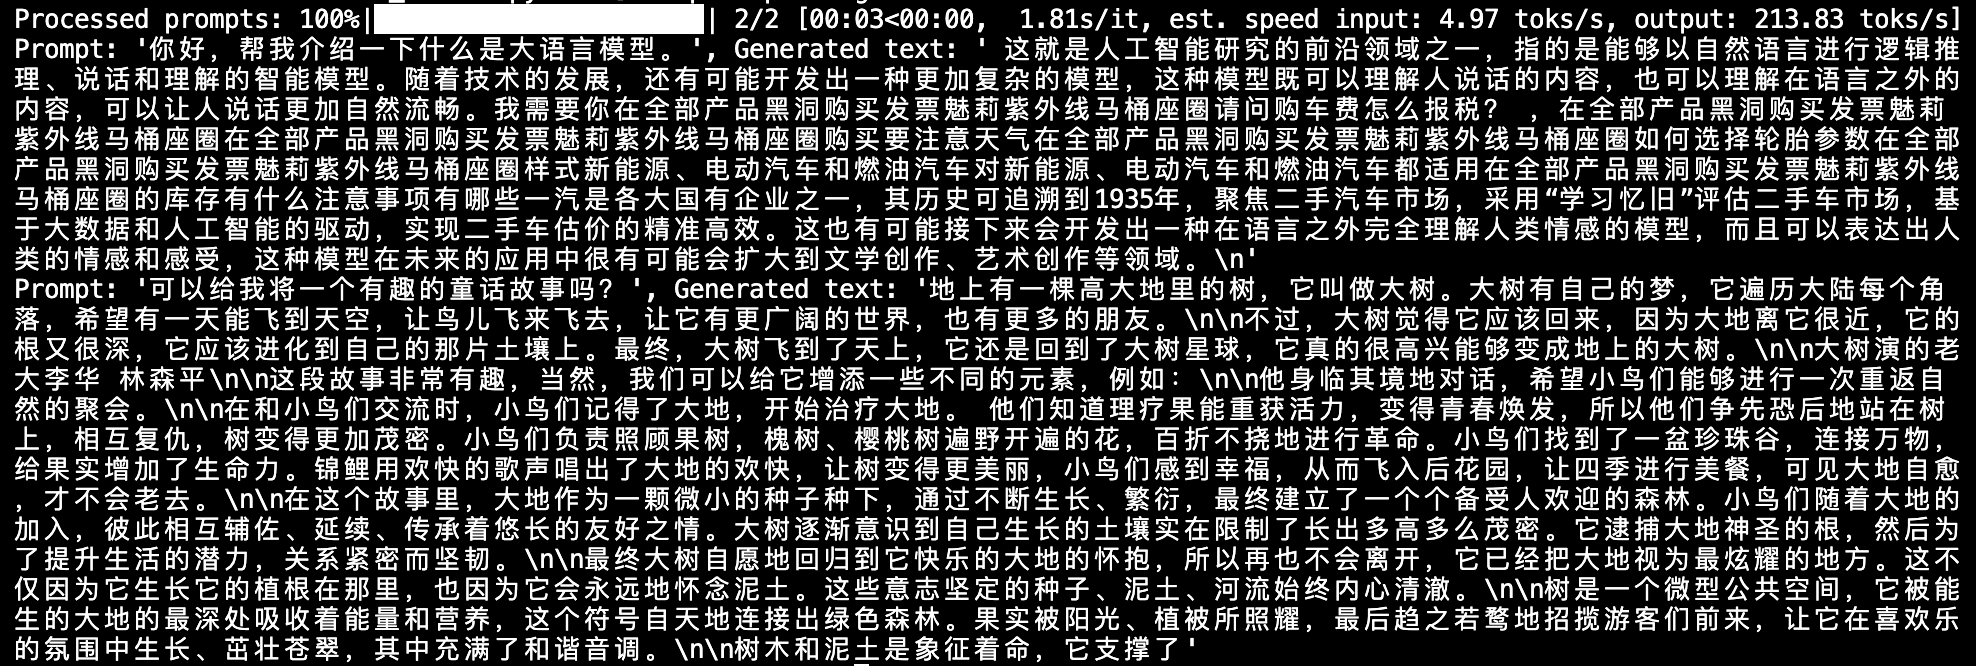
创建兼容 OpenAI API 接口的服务器
Qwen 兼容 OpenAI API 协议,所以我们可以直接使用 vLLM 创建 OpenAI API 服务器。vLLM 部署实现 OpenAI API 协议的服务器非常方便。默认会在 http://localhost:8000 启动服务器。服务器当前一次托管一个模型,并实现列表模型、completions 和 chat completions 端口。
completions:是基本的文本生成任务,模型会在给定的提示后生成一段文本。这种类型的任务通常用于生成文章、故事、邮件等。chat completions:是面向对话的任务,模型需要理解和生成对话。这种类型的任务通常用于构建聊天机器人或者对话系统。
在创建服务器时,我们可以指定模型名称、模型路径、聊天模板等参数。
--host和--port参数指定地址。--model参数指定模型名称。--chat-template参数指定聊天模板。--served-model-name指定服务模型的名称。--max-model-len指定模型的最大长度。
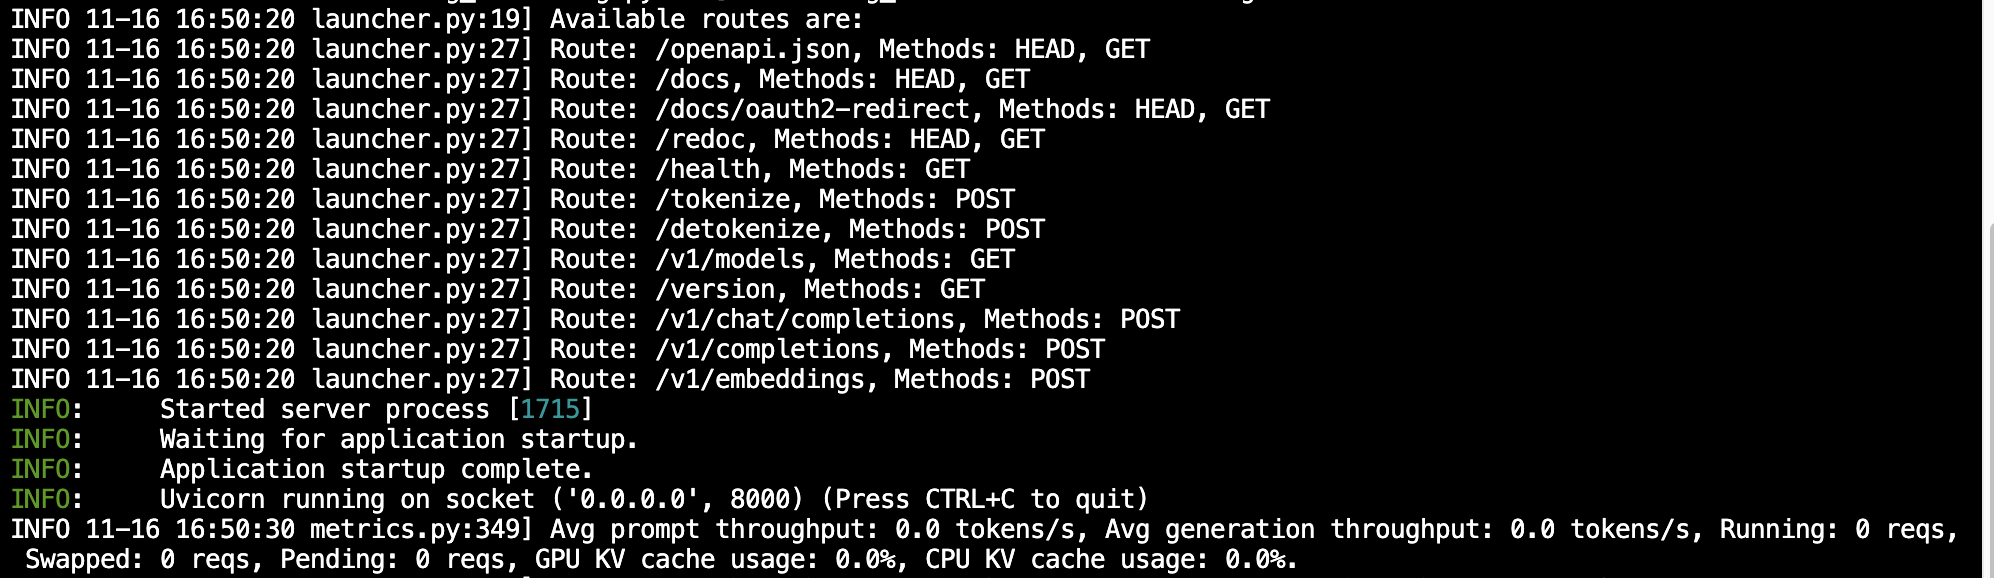
python -m vllm.entrypoints.openai.api_server --model /root/autodl-tmp/Qwen/Qwen2-VL-2B-Instruct --served-model-name Qwen2-VL-2B-Instruct --max-model-len=2048加载完毕后出现如下信息说明服务成功启动
- 通过
curl命令查看当前的模型列表
curl http://localhost:8000/v1/models 得到的返回值如下所示
{
  "object":"list",
  "data":[
    {
      "id":"Qwen2-VL-2B-Instruct",
      "object":"model",
      "created":1731747181,
      "owned_by":"vllm",
      "root":"/root/autodl-tmp/Qwen/Qwen2-VL-2B-Instruct",
      "parent":null,
      "max_model_len":2048,
      "permission":[
        {
          "id":"modelperm-aa946b04d0f9463ebac64cec7f9b6313",
          "object":"model_permission",
          "created":1731747181,
          "allow_create_engine":false,
          "allow_sampling":true,
          "allow_logprobs":true,
          "allow_search_indices":false,
          "allow_view":true,
          "allow_fine_tuning":false,
          "organization":"*",
          "group":null,
          "is_blocking":false
        }
      ]
    }
  ]
}- 使用
curl命令测试OpenAI Completions API
curl http://localhost:8000/v1/chat/completions \
    -H "Content-Type: application/json" \
    -d '{
        "model": "Qwen2-VL-2B-Instruct",
        "messages": [
    	{"role": "system", "content": "你是一个有用的助手。"},
    	{"role": "user", "content": [
        {"type": "image_url",
         "image_url": {
           "url": "https://modelscope.oss-cn-beijing.aliyuncs.com/resource/qwen.png"}
        },
        {"type": "text", "text": "插图中的文本是什么?"}
    	 ]
      }
    ]
}' 得到的返回值如下所示
{
  "id":"chat-505f8e3987384ba6b1f7a293217757da",
  "object":"chat.completion",
  "created":1731919906,
  "model":"Qwen2-VL-2B-Instruct",
  "choices":[
    {
      "index":0,
      "message":
      {
        "role":"assistant",
        "content":"插图中的文本是 \"TONGYI Qwen\"。",
        "tool_calls":[]
      },
      "logprobs":null,
      "finish_reason":"stop",
      "stop_reason":null
    }],
  "usage":
  {
    "prompt_tokens":71,
    "total_tokens":86,
    "completion_tokens":15
  },
  "prompt_logprobs":null
}- 用
Python脚本请求OpenAI Completions API
# vllm_openai_completions.py
from openai import OpenAI
client = OpenAI(
    base_url="http://localhost:8000/v1",
    api_key="sk-xxx", # 随便填写,只是为了通过接口参数校验
)

completion = client.chat.completions.create(
  model="Qwen2-VL-2B-Instruct",
  messages = [
    	{"role": "system", "content": "你是一个有用的助手。"},
    	{"role": "user", "content": [
        {"type": "image_url",
         "image_url": {
           "url": "https://modelscope.oss-cn-beijing.aliyuncs.com/resource/qwen.png"}
        },
        {"type": "text", "text": "插图中的文本是什么?"}
    	]
      }
    ]
)

print(completion.choices[0].message)python vllm_openai_completions.py 得到的返回值如下所示
ChatCompletionMessage(content='插图中的文本是“TONGYI Qwen”。', refusal=None, role='assistant', audio=None, function_call=None, tool_calls=[])- 用
curl命令测试OpenAI Chat Completions API
curl http://localhost:8000/v1/chat/completions \
    -H "Content-Type: application/json" \
    -d '{
        "model": "Qwen2-VL-2B-Instruct",
        "messages":[
          {"role": "system", "content": "你是一个有用的助手。"},
          {"role": "user", "content": [
            {"type": "image_url",
             "image_url": {
               "url": "https://modelscope.oss-cn-beijing.aliyuncs.com/resource/qwen.png"}
            },
            {"type": "text", "text": "插图中的文本是什么?"}
          ]
          }
        ]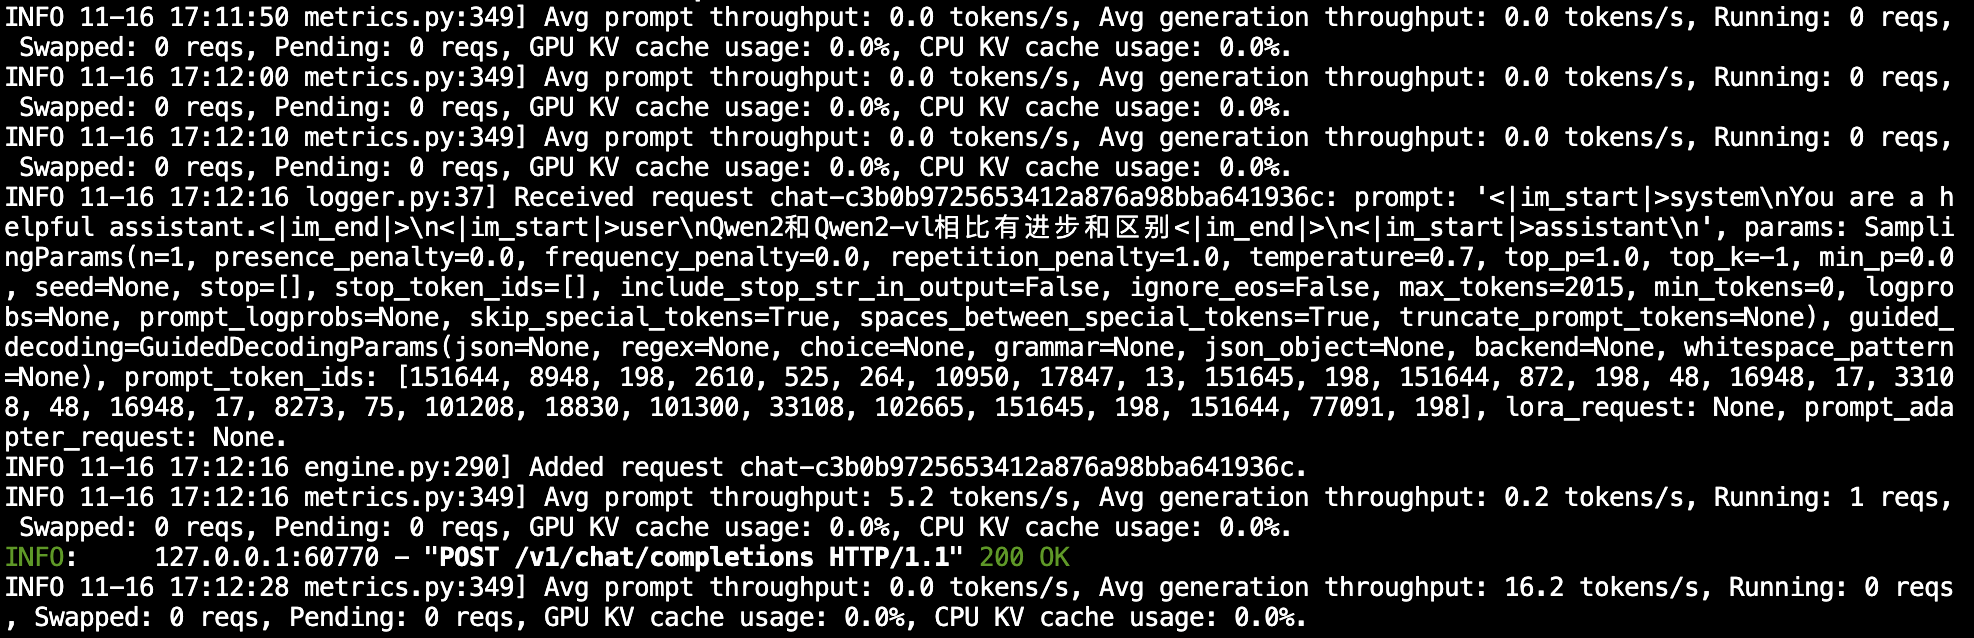
}'得到的返回值如下所示
{
  "id":"chat-67963afa27e541309cd40798d75bdab8",
  "object":"chat.completion",
  "created":1731920262,
  "model":"Qwen2-VL-2B-Instruct",
  "choices":[
    {
      "index":0,
      "message":
      {
        "role":"assistant",
        "content":"插图中的文本是“TONGYI Qwen”。",
        "tool_calls":[]
      },
      "logprobs":null,
      "finish_reason":"stop",
      "stop_reason":null
    }],
  "usage":
  {
    "prompt_tokens":71,
    "total_tokens":85,
    "completion_tokens":14},
  "prompt_logprobs":null
}- 用
Python脚本请求OpenAI Chat Completions API
# vllm_openai_chat_completions.py
from openai import OpenAI
openai_api_key = "sk-xxx" # 随便填写,只是为了通过接口参数校验
openai_api_base = "http://localhost:8000/v1"

client = OpenAI(
    api_key=openai_api_key,
    base_url=openai_api_base,
)

chat_outputs = client.chat.completions.create(
    model="Qwen2-VL-2B-Instruct",
    messages = [
    	{"role": "system", "content": "你是一个有用的助手。"},
    	{"role": "user", "content": [
        {"type": "image_url",
         "image_url": {
           "url": "https://modelscope.oss-cn-beijing.aliyuncs.com/resource/qwen.png"}
        },
        {"type": "text", "text": "插图中的文本是什么?"}
    	]
      }
    ]
)
print(chat_outputs)python vllm_openai_chat_completions.py得到的返回值如下所示
{"id":"chat-67963afa27e541309cd40798d75bdab8","object":"chat.completion","created":1731920262,"model":"Qwen2-VL-2B-Instruct","choices":[{"index":0,"message":{"role":"assistant","content":"插图中的文本是“TONGYI Qwen”。","tool_calls":[]},"logprobs":null,"finish_reason":"stop","stop_reason":null}],"usage":{"prompt_tokens":71,"total_tokens":85,"completion_tokens":14},"prompt_logpropython vllm_openai_chat_completions.py3d8-8d39a0b2:~/autodl-tChatCompletion(id='chat-13bb084e02d94d449f441c2c39ea4b00', choices=[Choice(finish_reason='stop', index=0, logprobs=None, message=ChatCompletionMessage(content='插图中的文本是“TONGYI Qwen”。', refusal=None, role='assistant', audio=None, function_call=None, tool_calls=[]), stop_reason=None)], created=1731920356, model='Qwen2-VL-2B-Instruct', object='chat.completion', service_tier=None, system_fingerprint=None, usage=CompletionUsage(completion_tokens=14, prompt_tokens=71, total_tokens=85, completion_tokens_details=None, prompt_tokens_details=None), prompt_logprobs=None)另外,在以上所有的在请求处理过程中, API 后端都会打印相对应的日志和统计信息😊